Arduino!
Arduino is the coolest thing ever to happen to the maker world! It is a small programmable circuit board that allows you to add behaviour to almost anything. It has an amazing open source community behind it, and it will teach you to code and get you into physical computing easier than you ever thought possible.Arduino is programmed in a language called C, with built in libraries that take care of a lot of the difficult stuff, so you can get right into the fun!
After getting an Arduino and a USB cable, the first step is to install the Arduino software.
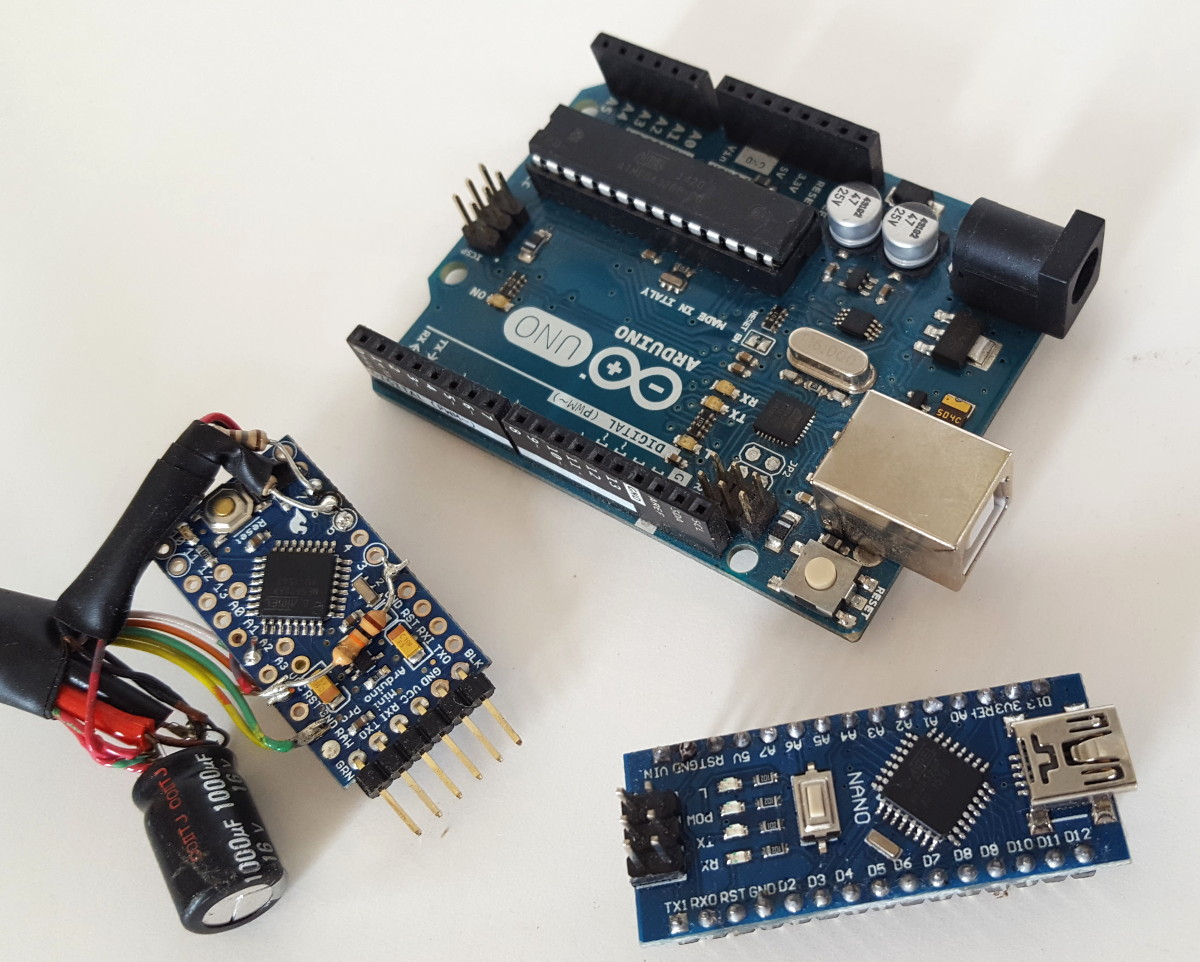
3 versions of Arduino, a Mini Pro connected up to some Neopixel strips, a classic Uno, and a chinese Nano clone. I try to buy at least half actual Arduinos to support the awesome work of Arduino, but those Nanos are just $5 on ebay, so cheap I can give them away!
Even if you have been using Arduino for a while, the first program you put in it is often "Blink," which is kind of the
"hello world" (the classic first program for, like, forever!) for a device that has no screen, at least not
when you first take it out of the box. Blink simply blinks an LED on and off, not very exciting, but it establishes
that you have everything set up right and that you have communication between your computer and the Arduino.
Once you get Blink running you can just keep learning and building from there.
Blink can be found in the examples under the file menu. Under the help menu, is "reference" which will give you descriptions of all the various operators, data types and functions at your disposal.
Blink can be found in the examples under the file menu. Under the help menu, is "reference" which will give you descriptions of all the various operators, data types and functions at your disposal.